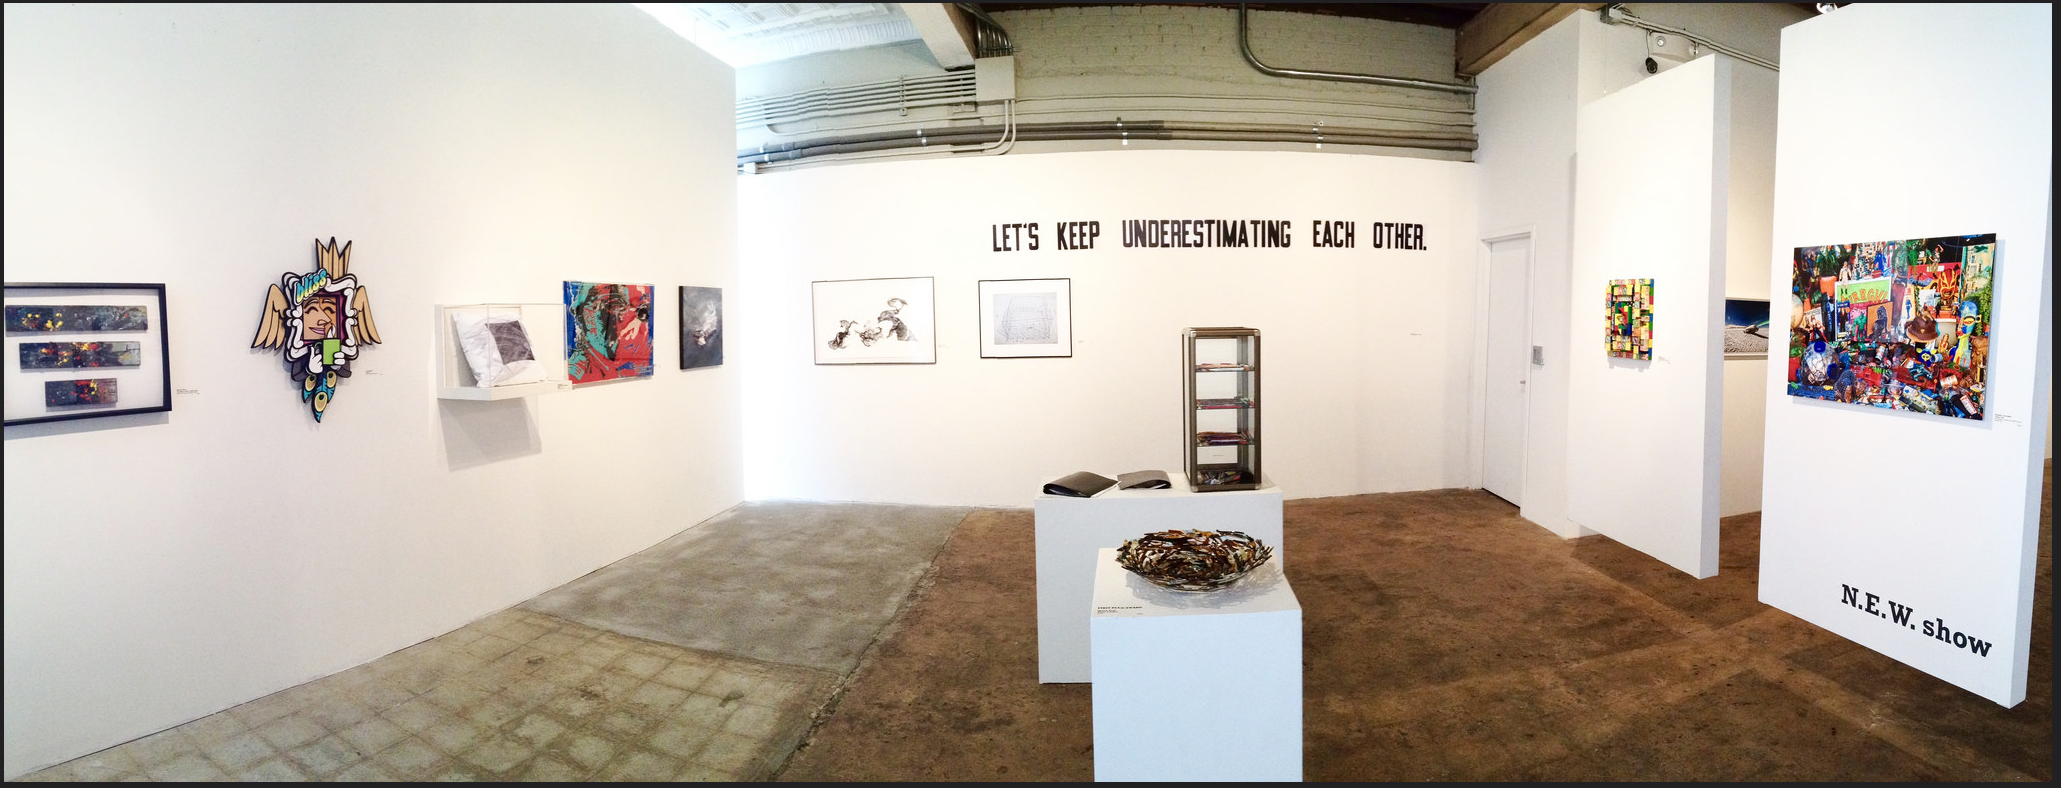
Thanks to all at the Visual Art Exchange in Raleigh for a wonderful show these past few weeks! Brandon and the rest of the crew did an awesome job with this one. Photographs of the show are located on Flickr HERE The Treasure Ship (on the left part of the image) looks great in the space. Also: thanks to the judge: David Terry, Director of Programs and Curator, New York Foundation for the Arts. for choosing my work!
I’ve been busy creating the latest piece, Tuskegee, to submit for ARTFIELDS 2016! I always have many questions from gallery patrons about my process: “How did you come up with that?” is usually the one I get the most. I want to show you some of the “behind the scenes” of what it takes to construct my resin pieces.(really, wood shop came in handy, students!) First, I have to build the resin mold. It’s has to be pretty “tight” not to let any of that resin leak out. Besides, I want to use as much resin as possible for this artwork…IT’S HUGE!
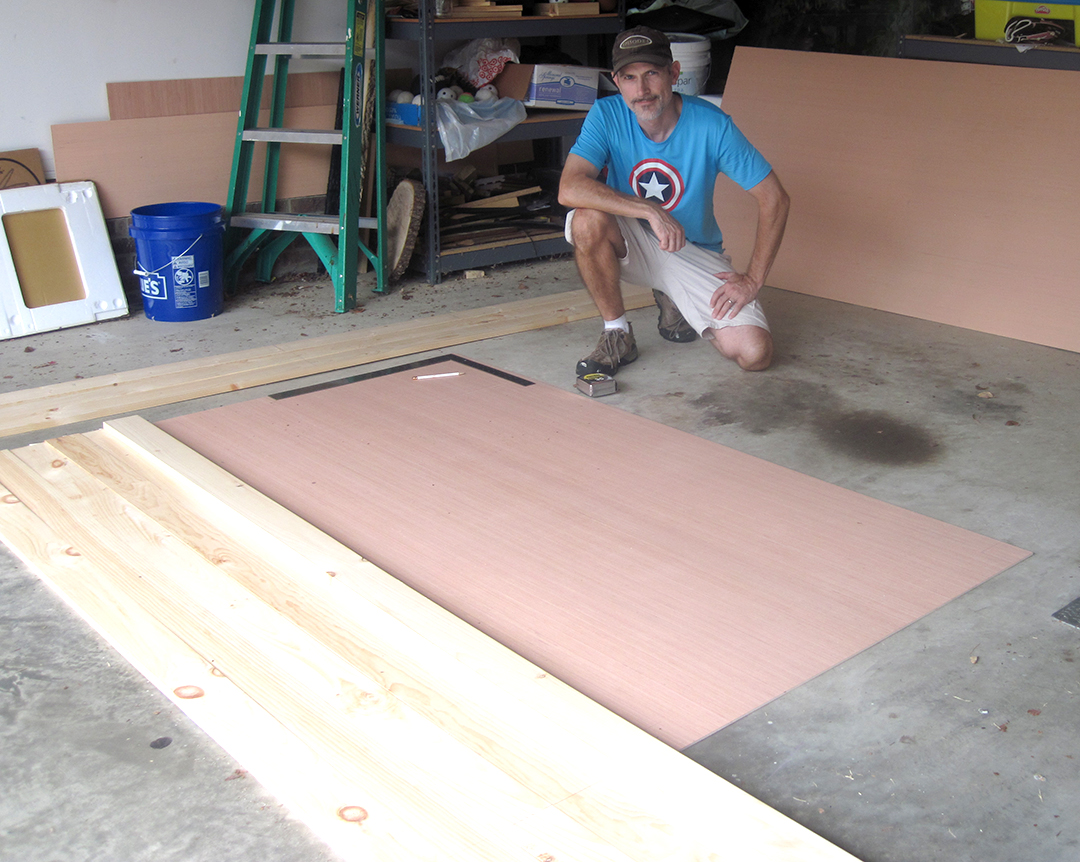
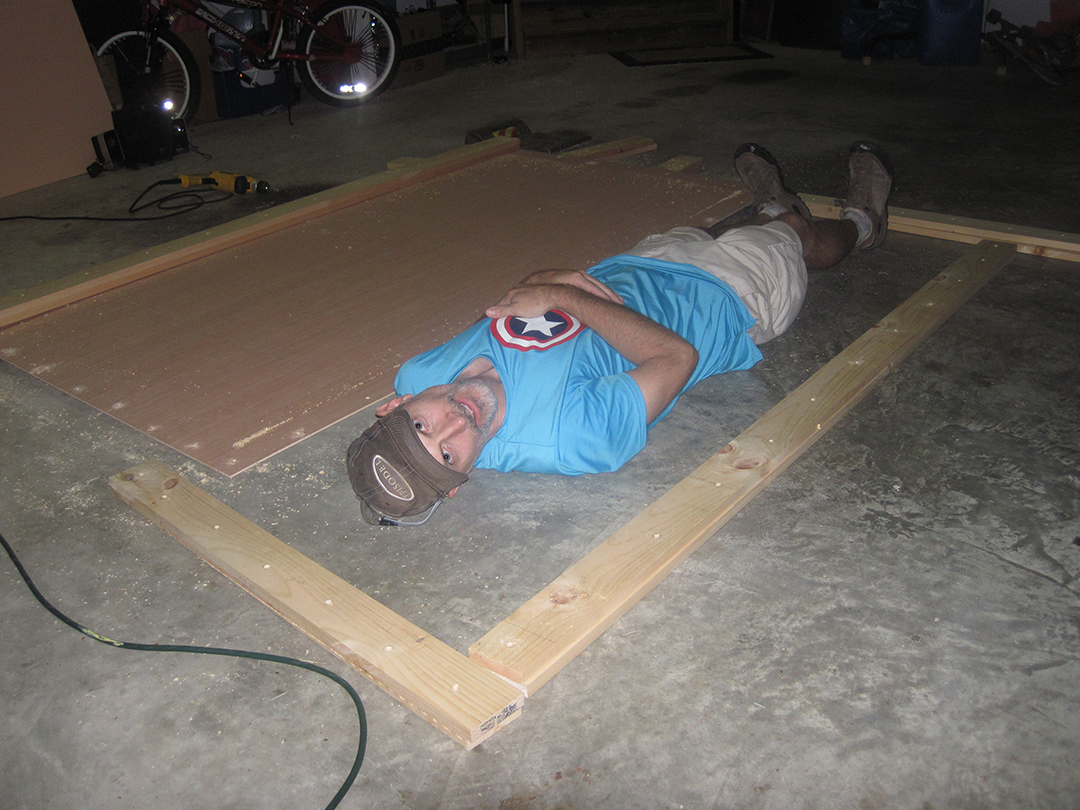 Taking a well needed break and giving you some perspective on size…yep, I’m BEAT!
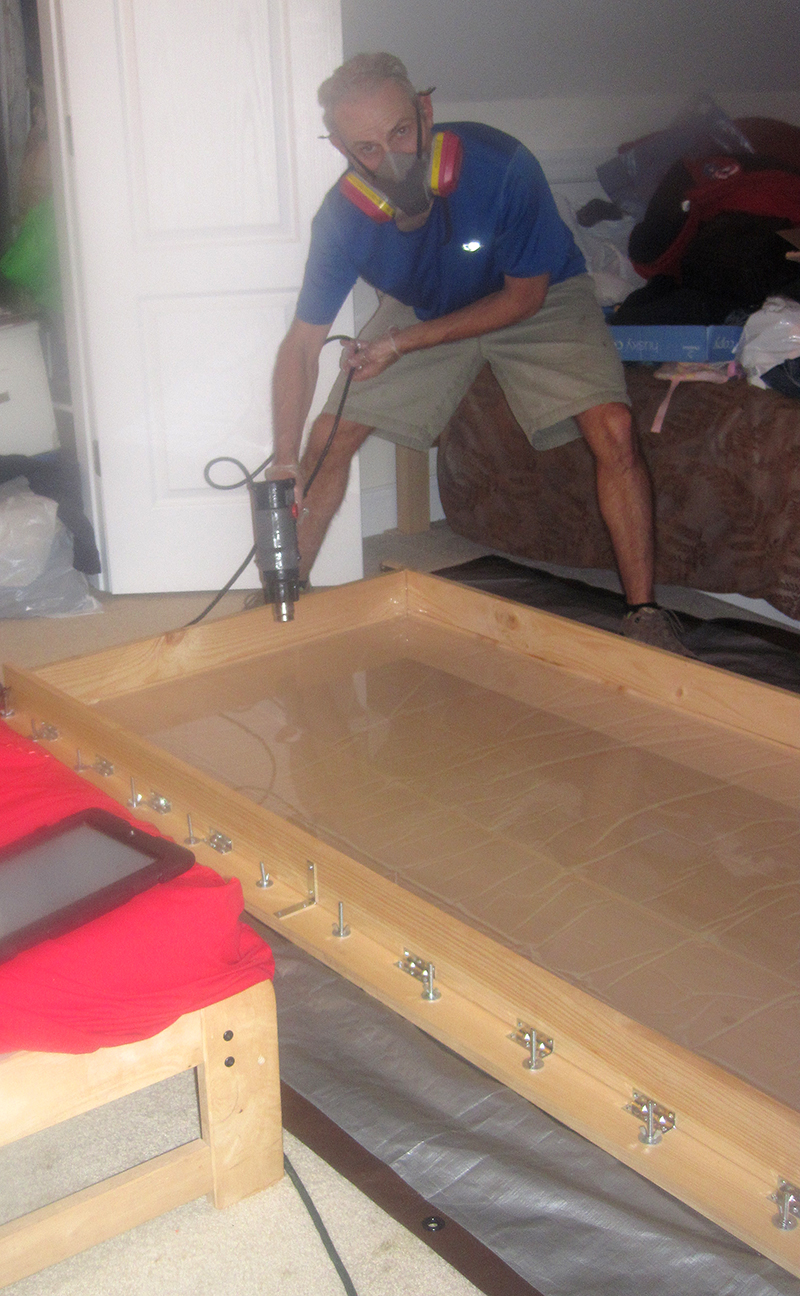
Next, it’s off to more dirty and messy work: Resin Pouring. Since this one is really large, I had to make several pours of resin to get the correct thickness and coverage of the mold. The heat gun removes all the tiny bubbles that come from the combination of chemicals…safety goggles were on previously when mixing and pouring, but not for the heat-gun stage. Gloves and a Respirator, a must. Thank you to my son, Grant, for taking good “direction” and great photographs while I was working!
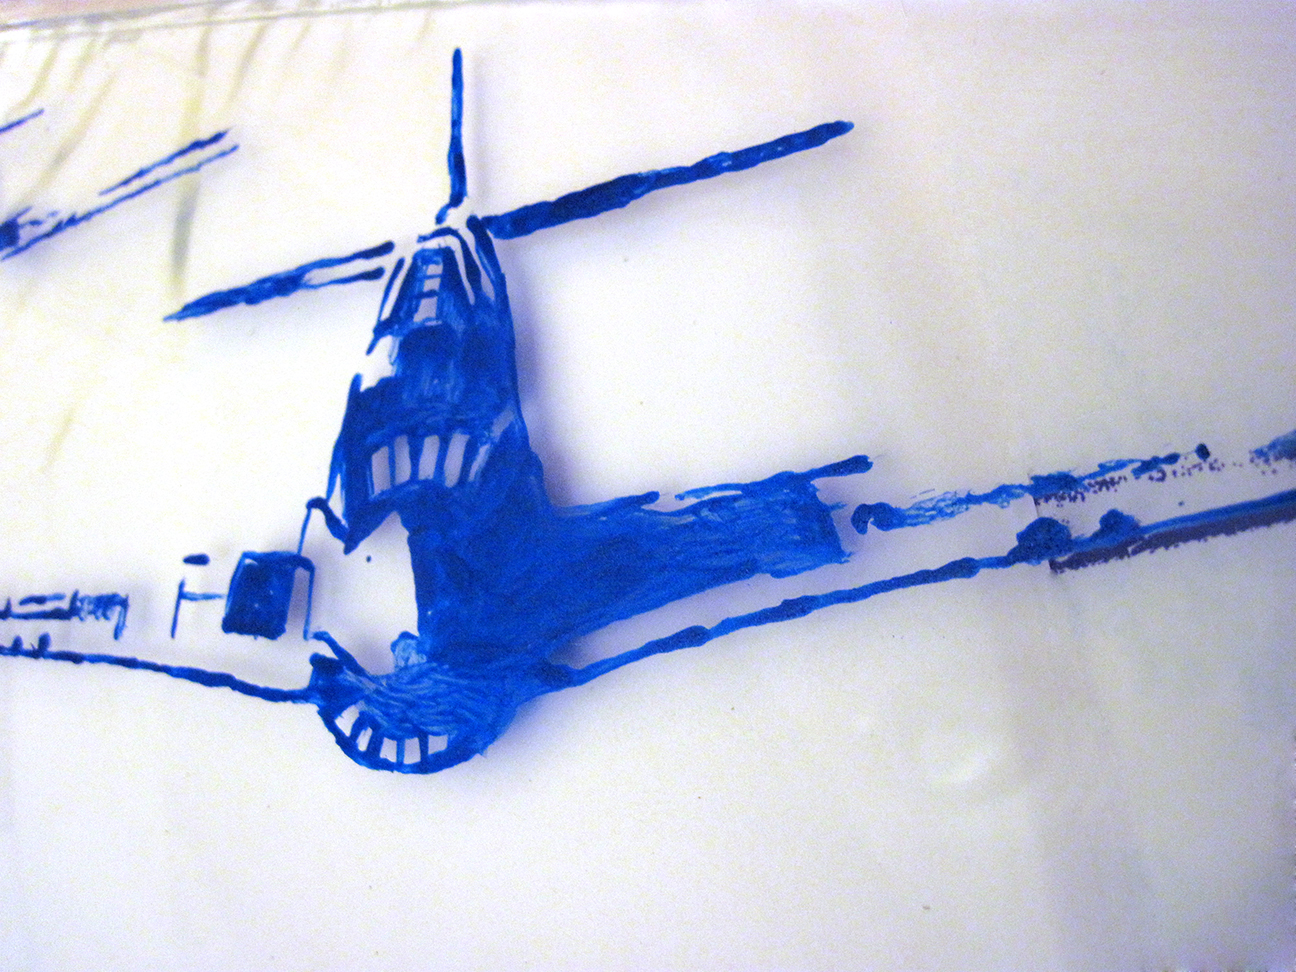
So, to get you up to date, I’ve started my first layer: Blue and Teal. Here, one of the Red Tail “Mustangs” are starting to appear.