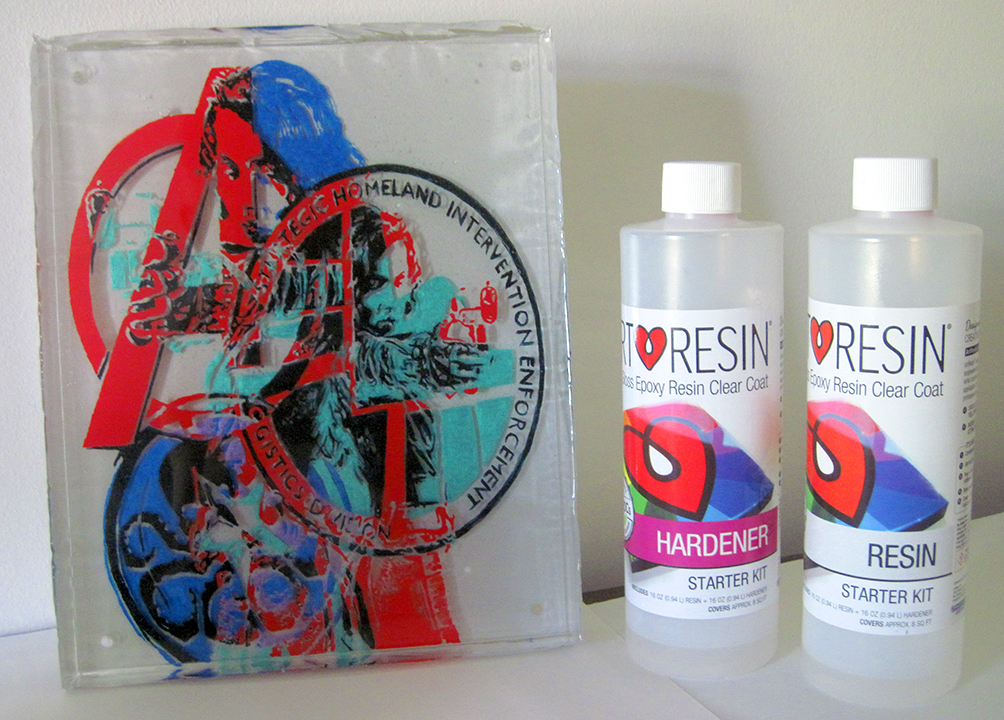
Just like the ‘ol “Marvel TEAM-UP” comic issues, ARTRESIN and FRANKY 3D Resin Painting joined forces to bring you a new twist on my resin painting technique. Rebecca Zak at Artresin.com is GREAT and easy to get a hold of for questions. When she saw my 3D artwork, it didn’t take much to have her contact me and set up this “challenge”. I used their “starter kit” of the hardener and resin to take my pre-painted 3D panels and encase them in clear resin. Lets take a look at how I did this project….
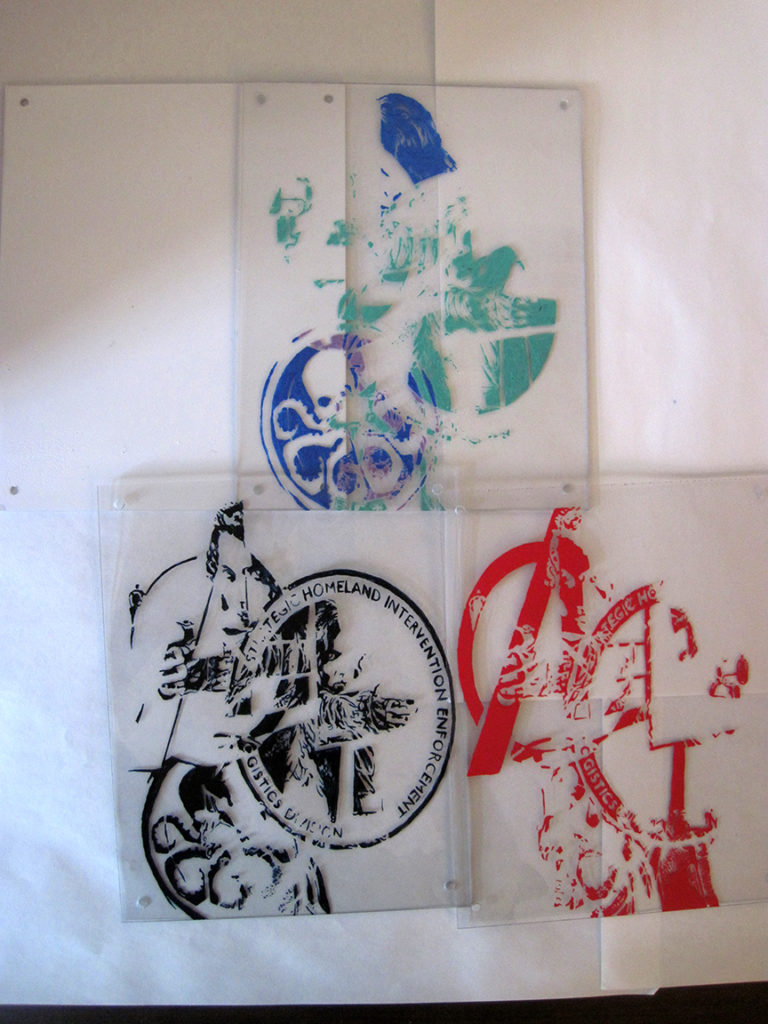
First, I have to start with my individual layers of painted images on 8″ x 10″ plexiglass (ok…several hours of digital sketching and painting up to reach this point) I also have on opaque plexi of white (top left corner)
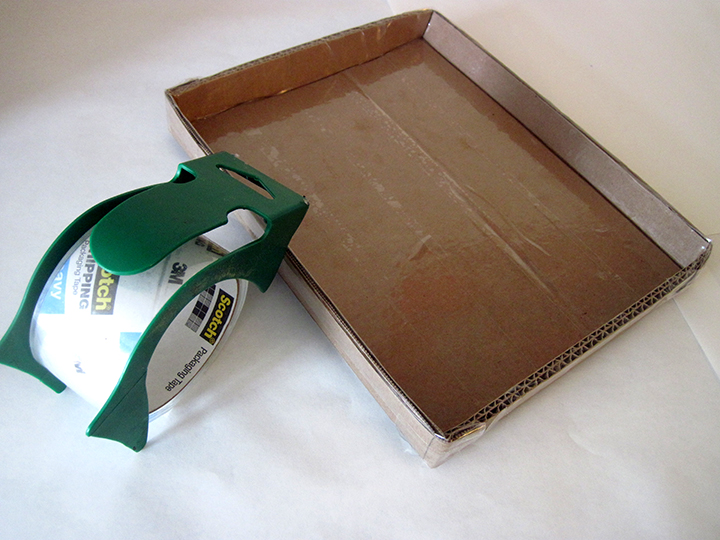 Next, I created a cardboard mold and covered all the surfaces with clear packaging tape (so the resin will not stick to it.) I make my larger ones of wood, due to larger pours. Make sure that it’s sealed and not have and “leak areas” for the liquid resin to escape. I would take a hot glue gun to make certain…no leaks!
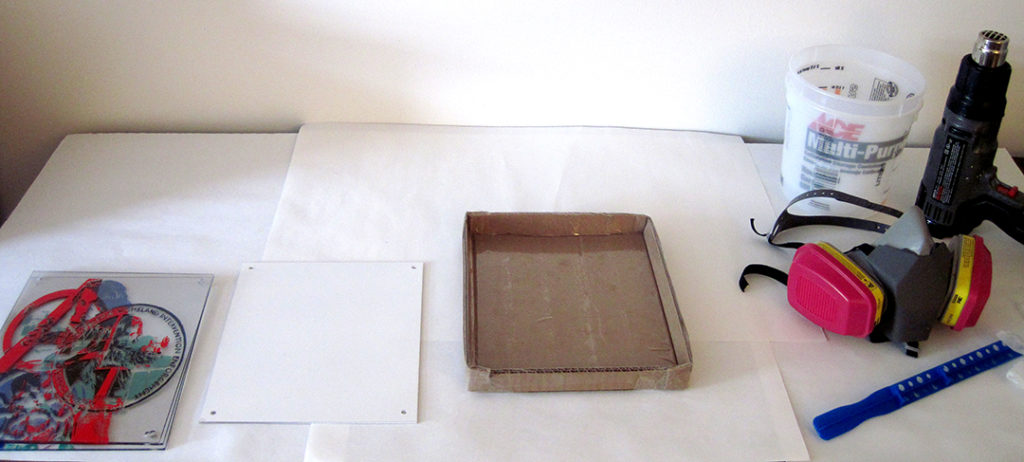
Here’s my workstation: keep the artwork separate from the mold and the tools on the right.
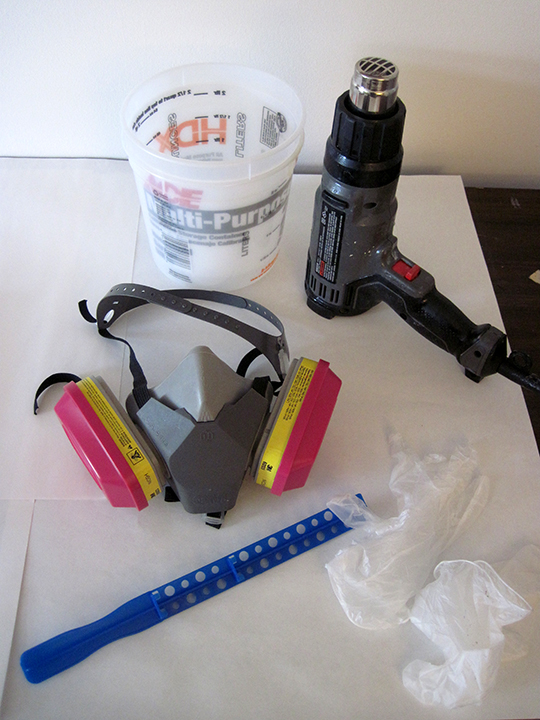
Make sure you have all your “gear” together before starting: Plastic paint tubs, gloves, respirator (I’d also recommend safety glasses too-not shown), Timer (not shown) and a Heat Gun (not a hair dryer).
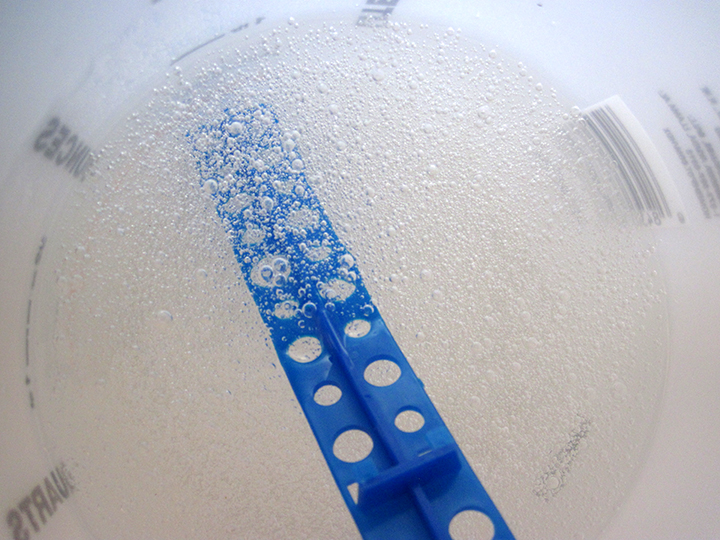
I have a “season” for pouring resin. Usually starts in the spring. Being from the South, I can start pouring in April until about October (then, I’d have to start cranking the heat). I prefer 78 degrees and higher to get the best curing of the resin. Anything lower and the pour wont work (read those directions carefully!) I digress…. next you can see the bubbles forming in the Resin/Hardener mixture after stirring for 2-2:30 minutes.

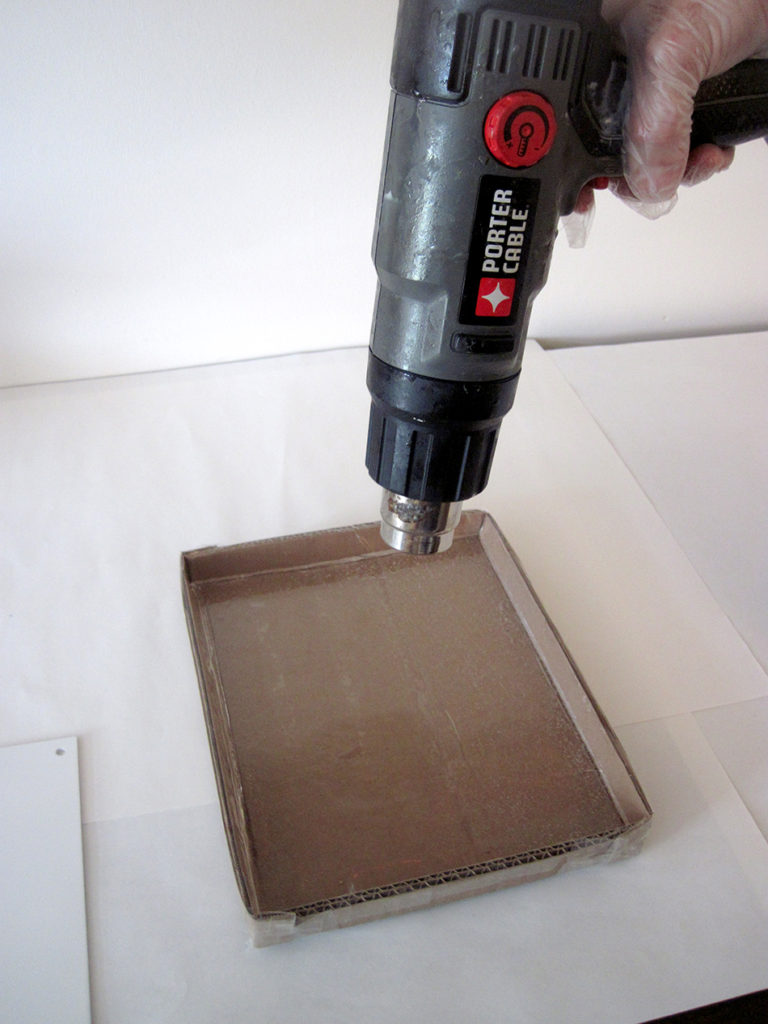
Heat gun use is a MUST to get those bubbles out. It only take a few seconds to clear the layer…but if you WANT bubbles in there…don’t bother with that heat gun.
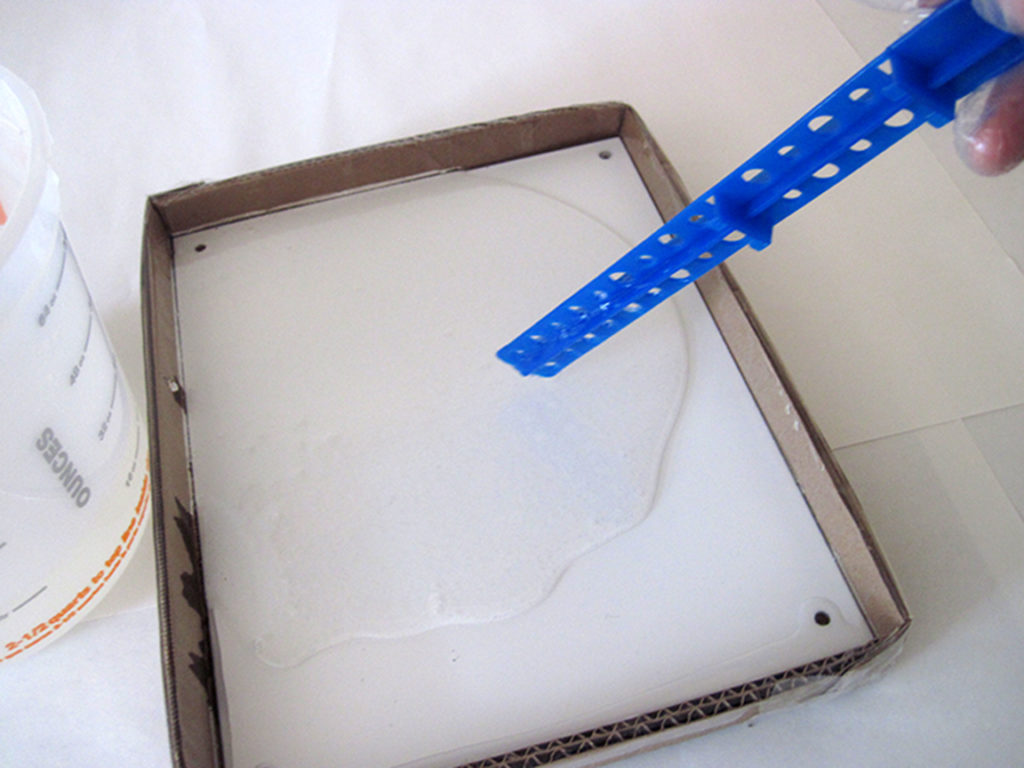
Here’s adding that first “Back Layer” of the opaque plexiglass.
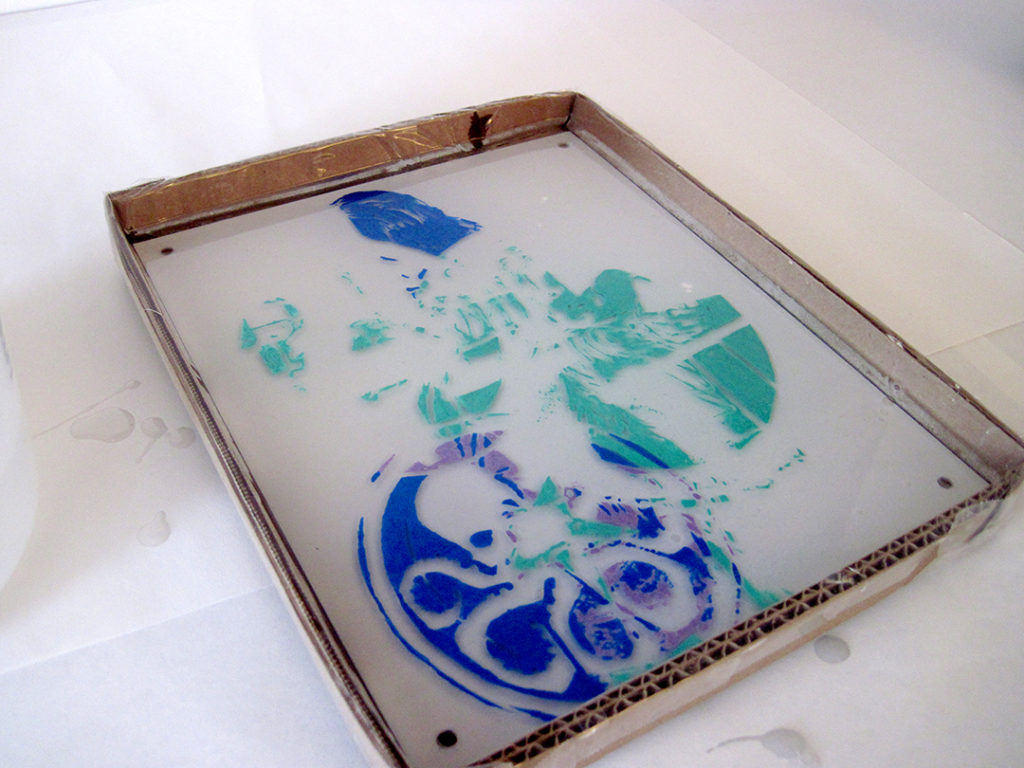
After pouring in a bit more resin, I SLOWLY layered the “blue / teal” plexi layer down…then I pored more resin on top of that. Don’t forget to use the heat gun. (I had to be careful to not just “drop” the plexiglass right on the resin, or bubbles form UNDERNEATH. They need to be “pressed” or wiggled out…which was a pain. Learned for the next couple of layers, though.)
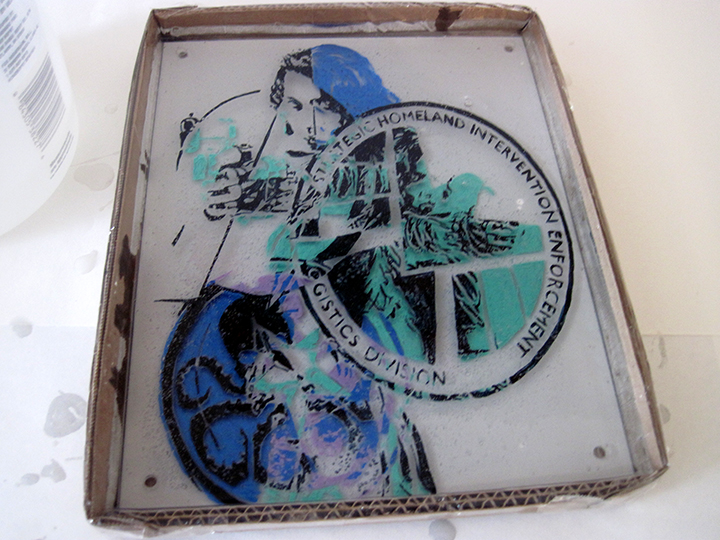
Added the black layer…Again: Resin, bubble removal and Heat Gun!
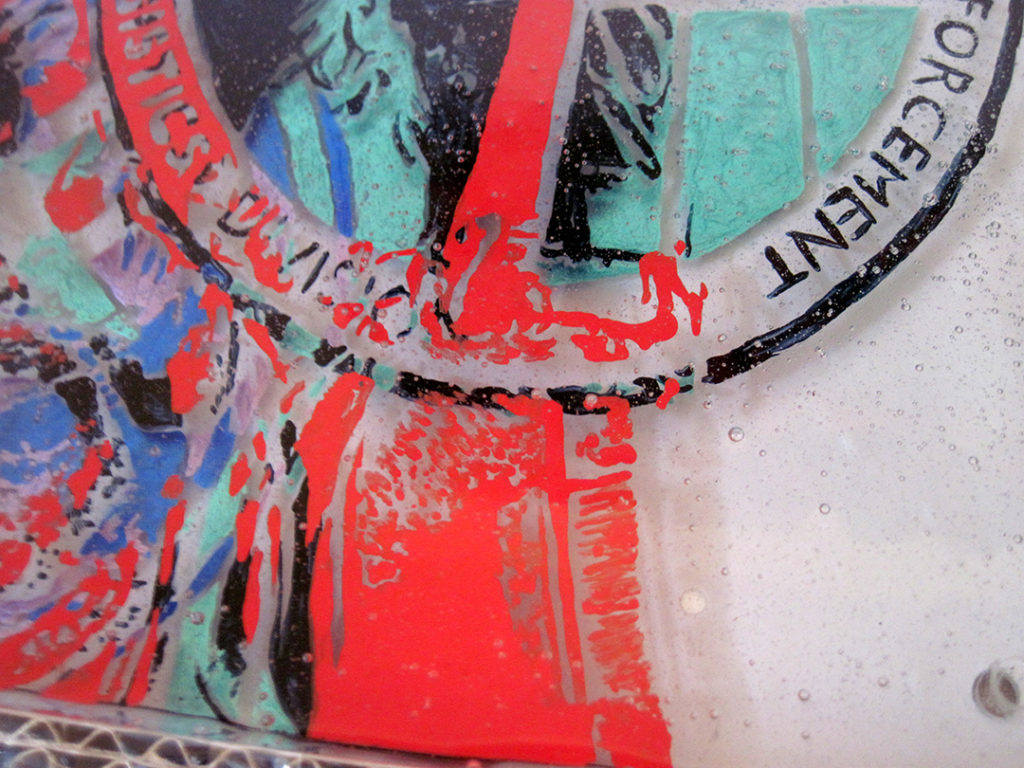
Here’s the added “Red Layer”: Pre – Heat Gun.
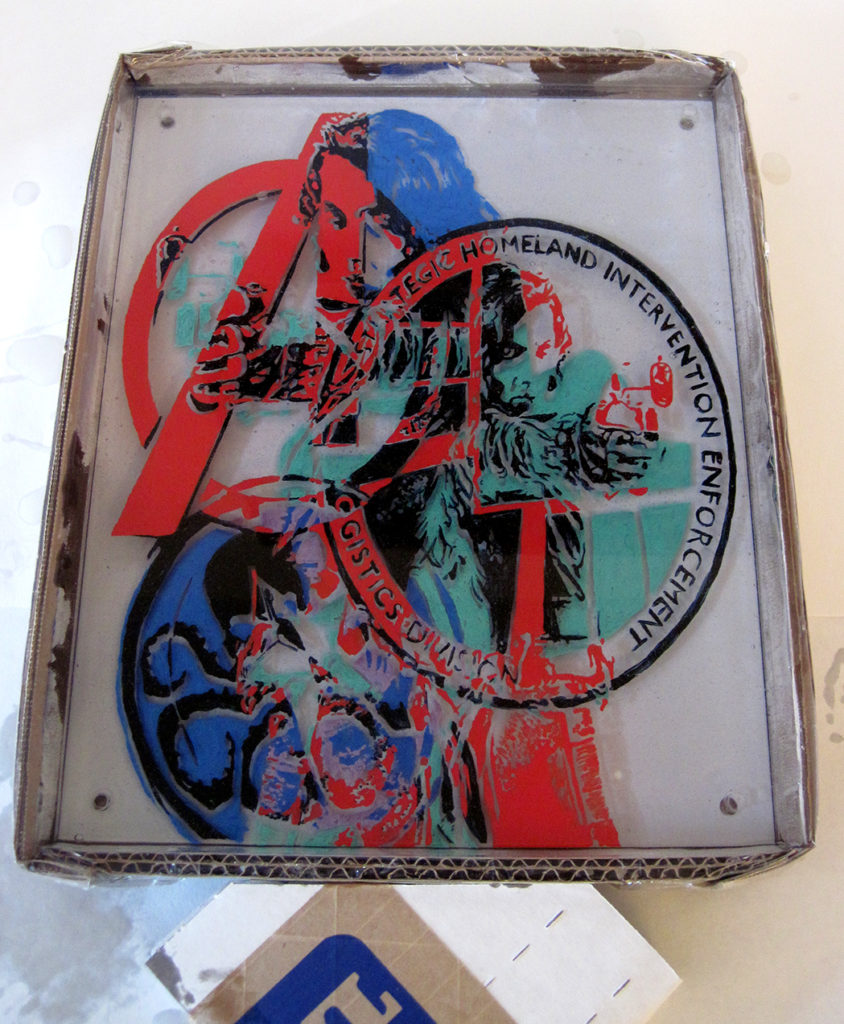
Final cover with remainder of the resin…note the bottom cardboard shoved under to “level” the mold. ALWAYS pour on a level surface and check for level! I could remove the completed casting within 4hrs, but you may want to wait a full 24hrs for a full cure of the resin.
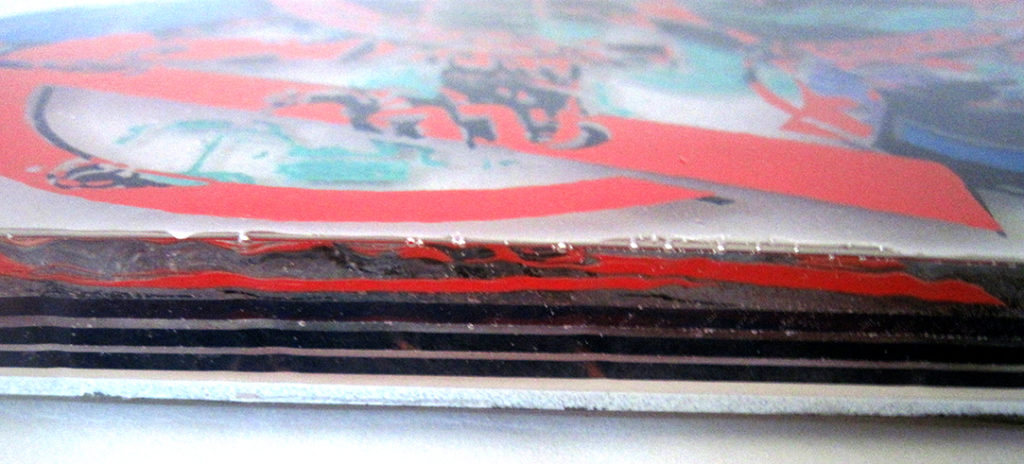
Here’s a side view after removal of the cardboard mold. You can see the three individual plexiglass panels and the bottom opaque white panel.

Final result looks spectacular and professional…just need to grab my 3D Chromadepth glasses!
Thanks, Rebecca! Hope you enjoy the art and thanks for the RESIN!
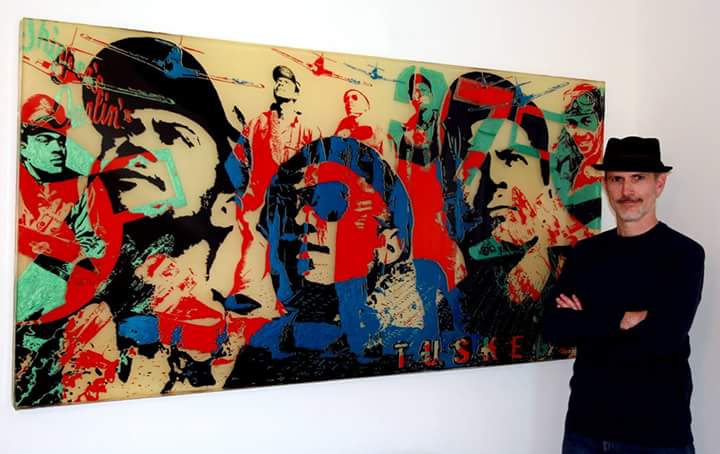
You can get really BIG with your resin pours. We’re talking GALLONS of resin…take a look at my LARGEST!

This was for “TUSKEGEE“, which will be shown at ARTFIELDS in Lake City, South Carolina (April 21st – 29th).